


One of the most common questions homeowners and professionals ask during a tiling project is: how long does grout take to dry? Applying tile grout provides the essential finish to tiles, but the drying process requires patience to ensure the integrity of the tiling installation. Rushing this stage can ruin your home makeover, making it vital to understand the timeline before using the area.
Whether finishing a kitchen backsplash or bathroom, the difference between drying and curing is a critical component. Grouting involves two stages: water evaporation and the chemical reaction. This article explores everything you need to ensure a professional look.
We will cover the basics of drying and curing, various grout types like epoxy grout, and exactly how long it takes. You will also learn about factors like temperature and humidity, plus tips to speed up the process.
What are the Fundamentals of Grout Drying and Curing?
Grout is more than a finishing touch; it fills tile gaps to provide structural stability and prevent water and dirt from infiltrating the installation. For a professional result, grout must be mixed accurately and allowed to set undisturbed before the surface is put to use.

Here are the essential basics of the drying and curing process:
Drying is the immediate first phase – Shortly after application, grout begins to lose surface moisture and firm up. During this window, use a damp sponge to remove excess residue and smooth the joints to their final finish.
Grout must then be left to cure – While dry to the touch within hours, grout requires a longer chemical hardening process called curing to reach full strength. This phase typically takes 24 to 72 hours, though exact times vary by product and room humidity.
Avoid rushing the process – Speeding up drying with artificial heat can cause grout to shrink or crack. To ensure a durable, water-resistant seal, the best approach is to let the grout dry and cure naturally at its own pace.
How Long Does Grout Take to Dry?
Grout typically takes 24 to 72 hours to dry and cure completely, but the exact timeline depends on the type of grout and the environment.
Drying vs. Curing Timelines
It is important to distinguish between dry to the touch and fully cured:
-
Touch Dry (15–60 minutes): This is when you can begin wiping off the excess haze with a damp sponge.
-
Light Use (24 hours): Most grouts are safe for light foot traffic after one day.
-
Full Cure (3–7 days): This is the time required before exposing the grout to heavy water (like a shower) or applying a sealer.
Average Times by Grout Type
|
Grout Type |
Typical Dry/Cure Time |
Best Use Case |
|
Cement-Based |
48–72 hours |
Standard residential tiles; needs sealing. |
|
Epoxy Grout |
24 hours |
Waterproof/stain-resistant; ideal for showers. |
|
Rapid-Setting |
3–4 hours |
Quick repairs or high-traffic areas. |
|
Premixed |
3–7 days |
DIY-friendly; often takes longer to fully set. |
What are the Factors that Influence Grout Drying Time?
1. Environmental Conditions
-
Humidity: High humidity levels, common in bathrooms, prevent moisture from evaporating, extending drying times by 50% or more.
-
Temperature: Warmer temperatures generally accelerate drying. Grout in rooms below 10°C (50°F) may take significantly longer and might not cure properly.
-
Ventilation: Good air circulation removes moisture from the air, speeding up the process. Stagnant air in enclosed spaces like showers can cause delays.
2. Application & Substrate
-
Joint Thickness: Deeper or wider grout lines contain more moisture and take longer to dry completely.
-
Tile Porosity: Porous tiles (like natural stone) absorb moisture from the grout, helping it dry faster. Non-porous tiles (like glass or porcelain) retain moisture longer.
-
Mixing Ratio: Adding too much water during the mixing phase is a common mistake that leads to weak, runny grout that takes much longer to set.
3. Location (Indoor vs Outdoor)
-
Outdoor Projects: Exposure to direct sun, wind, or rain makes drying times unpredictable. Cool nights or high morning humidity can extend the process significantly compared to climate-controlled interiors.
How to Speed up Grout Drying Time?
While you can nudge grout to dry faster using environmental controls, it is a chemical curing process that shouldn't be rushed excessively to avoid cracking or weakening.
Here are the most effective ways to safely speed up the process:
-
Dehumidify: Run a dehumidifier to pull moisture from the air, especially in windowless bathrooms.
-
Circulate Air: Use portable fans to move air across the surface without pointing them directly at the grout lines at high speed.
-
Moderate Heat: Maintain a room temperature between 70°F and 80°F; avoid excessive heat which can cause the grout to crack.
-
Dry Wiping: Use a damp sponge during cleanup to avoid reintroducing water into the joints.
-
Fast Set Products: Select a rapid-setting grout if you need a 3 to 4 hour turnaround.
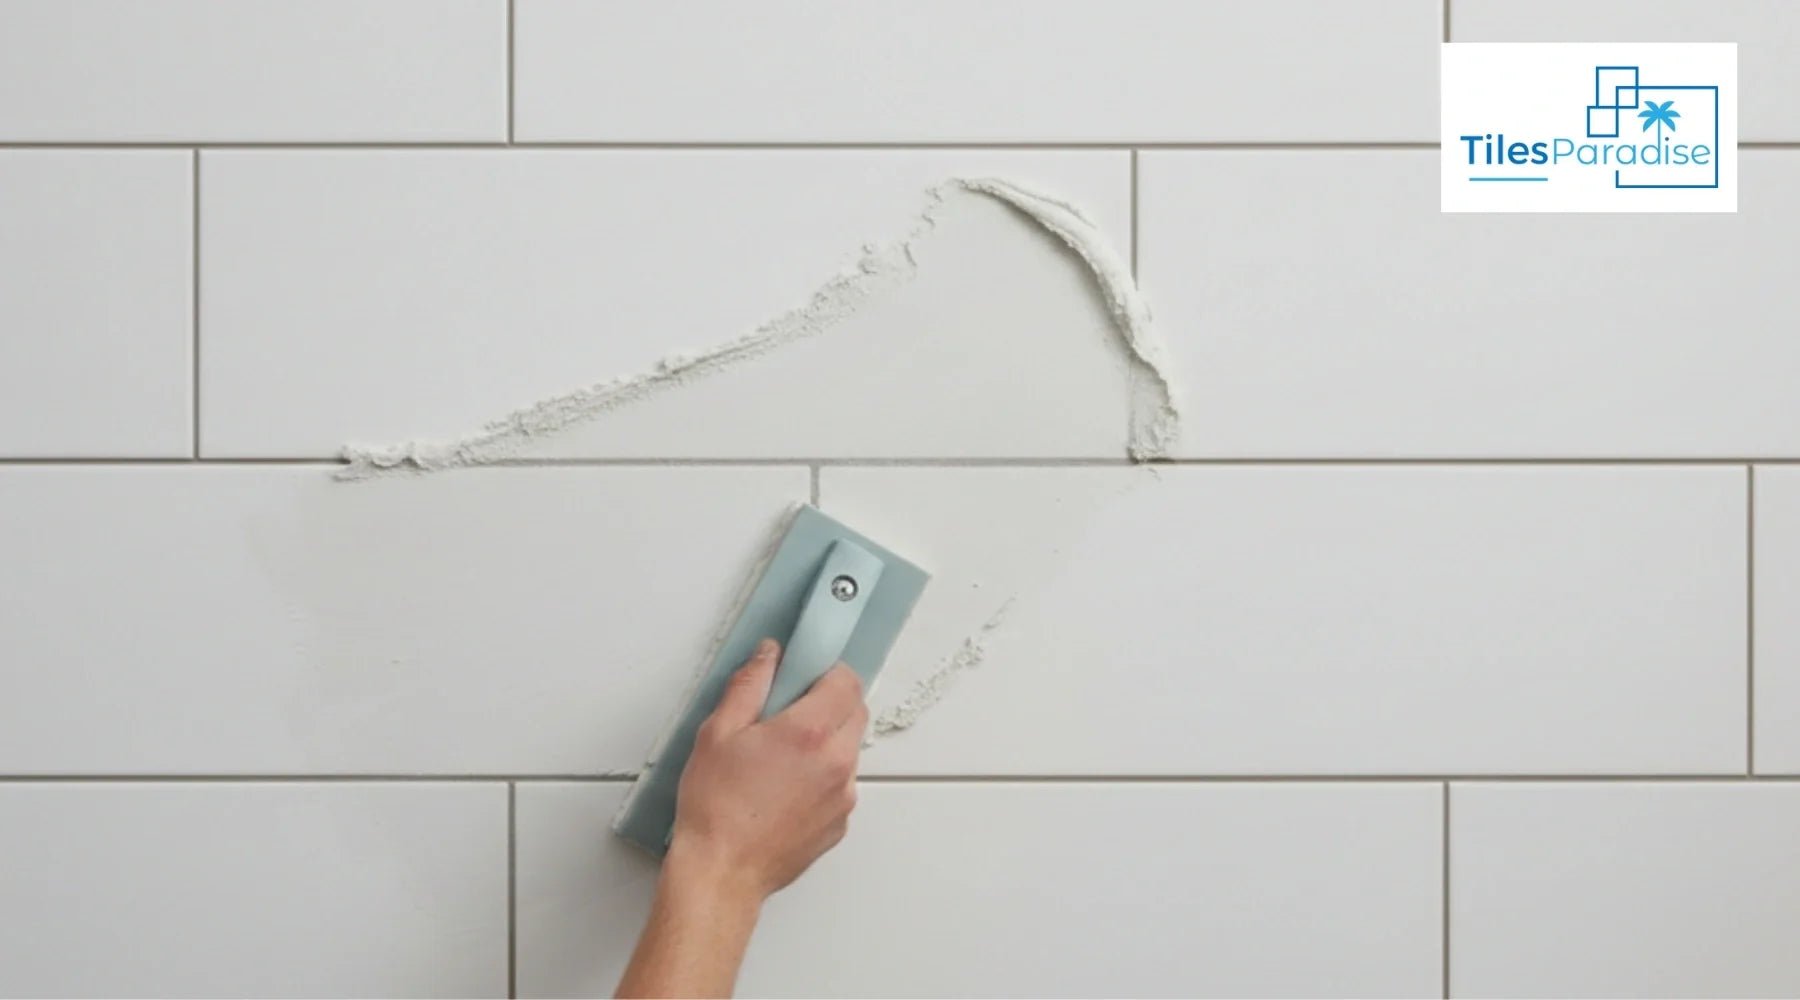
How to Grout Tiles: Step-by-Step
Grout tiles by mixing powdered grout with water to a toothpaste consistency, applying it diagonally across joints with a rubber grout float, and removing excess with a damp sponge after 15-30 minutes.
Steps for Grouting Tile:
- Preparation: Ensure tiles are set for at least 24 hours and joints are clean of adhesive.
- Mix Grout: Combine grout powder and water in a bucket, mixing to a smooth, thick paste according to package instructions
- Apply Grout: Using a rubber grout float at a 45-degree angle, spread the grout over the tiles, pressing firmly to fill the joints completely.
- Remove Excess: Hold the float at a 90-degree angle to the tile and scrape off excess grout, moving diagonally across the tiles.
- Sponge Clean: After roughly 15-30 minutes (when the grout feels firm), use a barely damp sponge to clean the tiles in a circular motion, shaping the joints and wiping away excess.
- Final Polish: Once the grout has dried, a hazy film will appear. Remove this with a clean, dry cloth.
- Seal: Allow to cure fully (24 hours to 2 weeks depending on environment) before applying a grout sealer to protect against stains.
What are the Different Types of Grouts
Choosing the right grout depends on your tile material and joint width:

-
Sanded Grout: Best for floor tiles and joints wider than 3mm; the sand prevents shrinkage and cracking.
-
Unsanded Grout: Ideal for wall tiles and narrow joints (under 3mm). It won't scratch delicate surfaces like glass or marble.
-
Epoxy Grout: The most durable and stain-resistant option. It’s waterproof and doesn't require sealing, making it perfect for showers and kitchens.
-
Pre-mixed Grout: Best for quick repairs and small DIY tasks, as it requires no mixing or measuring.
Tips for Healthy Drying of Grout
Healthy drying (or curing) of grout ensures a strong, waterproof finish that resists cracking and mould.
-
Wipe with a Damp Sponge: Wait 15–30 minutes after application before wiping. Use a damp, not soaking wet, sponge; excess water can weaken the grout and cause colour fading.
-
Maintain Moderate Temperatures: Ideal drying occurs between 10°C and 25°C. Temperatures below 10°C can halt the curing process, while excessive heat (above 30°C) can cause cracking.
-
Manage Humidity: Use a dehumidifier in damp areas like bathrooms to remove excess moisture that delays drying.
-
Ensure Steady Airflow: Use fans or open windows to circulate air. Avoid pointing fans directly at grout lines to prevent uneven drying.
-
Respect the Timeline:
-
Foot Traffic: Wait 24 hours before walking on floor tiles.
-
Water Exposure: Wait 72 hours before using a shower.
-
Full Cure: Most cement-based grouts take 48–72 hours to fully harden.
-
Seal After Curing: Apply a penetrating sealer to cement-based grout only after it is fully cured (typically 72 hours) to lock out moisture and prevent future mould.
Final Verdicts:
Getting grout to set correctly is the difference between a lifetime finish and a crumbling mess. While it skins over quickly, the full chemical cure takes 48 to 72 hours to reach maximum density. Prioritising stable temperatures and avoiding premature water exposure ensures your grout lines stay mould-resistant and structurally sound.
For those ready to begin their next project, Tiles Paradise offers an extensive collection of professional-grade materials and inspiration. Following these steady drying habits alongside quality supplies will yield a clean, durable result that stands the test of time.