Grouting is a vital part of the tiling installation process, providing both strength and rigidity to your tile installation. Whether you're working on floor tiles in the kitchen, wall tiles in the bathroom, or a patio outside, learning how to grout tiles correctly ensures the right grout acts as a barrier against water, dirt, and moisture. This finishing touch prevents chipping and ensures the longevity of your surfaces.
For DIY enthusiasts tackling a renovation project, mastering the grouting process is a rewarding skill that saves cash. This article serves as a comprehensive guide, covering different types of grouts, essential tools like the grout float, and steps to achieve a professional finish.
What is Tile Grout and Why is It Necessary in Tiling?
According to Wikipedia, “Grout is a dense substance that flows like a liquid yet hardens upon application, often used to fill gaps or to function as reinforcement in existing structures. Grout is generally a mixture of water, cement, and sand, and is frequently employed in efforts such as pressure grouting, embedding rebar in masonry walls, connecting sections of precast concrete, filling voids, and sealing joints such as those between tiles.”
In a household setting, tile grout is the essential substance used to fill the gaps between individual tiles on walls and floors. Usually purchased as a powder from a DIY store, it is mixed with liquid to create a thick paste. This mixture is then applied across the tile surface to pack the joints, ensuring the structures remain stable under pressure.
Beyond aesthetics, it acts as a vital moisture barrier. Sealing the spaces, it prevents water from seeping behind the tiles, which stops the growth of mould and mildew. From splashbacks to shower floors, grout provides the necessary reinforcement to keep your tiling project durable and hygienic.
What are the Different Types of Grouts Available?
The three main types of tile grout are sanded, unsanded, and epoxy. Sanded and unsanded are cement-based (requiring sealing), while epoxy is non-porous and highly durable. Other options include flexible, acrylic, and fast-setting grouts for specific applications, such as outdoor patios or wet areas.
-
Sanded Grout: Ideal for wider joints (over 1/8 inch or ~3mm) on floors and walls, as the sand adds strength to prevent shrinkage.
-
Unsanded Grout: Best for narrow joints (less than 1/8 inch) and delicate tiles (like glass or marble) to avoid scratching.
-
Epoxy Grout: Highly durable, waterproof, and stain-resistant, making it ideal for high-traffic areas, kitchens, and showers. It does not require sealing, though it is more expensive.
-
Cement-Based Grout: A traditional, cost-effective option available as pre-mixed powder, often enhanced with polymers for flexibility.
-
Furan Grout: A specialised, high-performance, and chemical-resistant resin similar to epoxy, often used in industrial settings.
-
Acrylic Grout: Pre-mixed and generally easier to apply, offering flexibility and resistance to moisture.
-
Flexible Grout: Contains polymers to accommodate movement in substrates, reducing cracks, suitable for areas with underfloor heating.
What are the Tools and Materials You Need?
For a standard DIY tile grouting project, you need the following core items:
Core Tools
-
Grout Float: A rubber-based tool to press grout into joints.
-
Grout Sponge: A dense, rounded-edge sponge for cleaning excess grout.
-
Two Buckets: One for mixing grout and one for clean rinse water.
-
Gauging Trowel: To mix and scoop grout from the bucket.
-
Microfibre Cloth: For the final buffing to remove grout haze.
Materials
-
Grout: Available as powder or ready mixed.
-
Clean Water: For mixing and rinsing.
-
Grout Sealer: Applied after curing to prevent stains.
Safety Gear
-
Gloves & Eye Protection: To prevent skin and eye irritation.
-
Dust Mask: Essential when mixing powdered grout.
-
Knee Pads: Recommended for floor projects to prevent strain.
How to Grout Tiles: Step-by-Step Guide
Prepare the Area
Remove all tile spacers and use a grout rake or utility knife to clear excess adhesive or debris from the joints. Wipe the tiles with a damp sponge to remove dust.
Mix the Grout
Follow the manufacturer's ratio on the product packaging. Add powder to water gradually, mixing until it reaches a consistency similar to thick peanut butter or whipped ice cream. Let the mixture slake (rest) for 5–10 minutes, then give it a final brief stir.
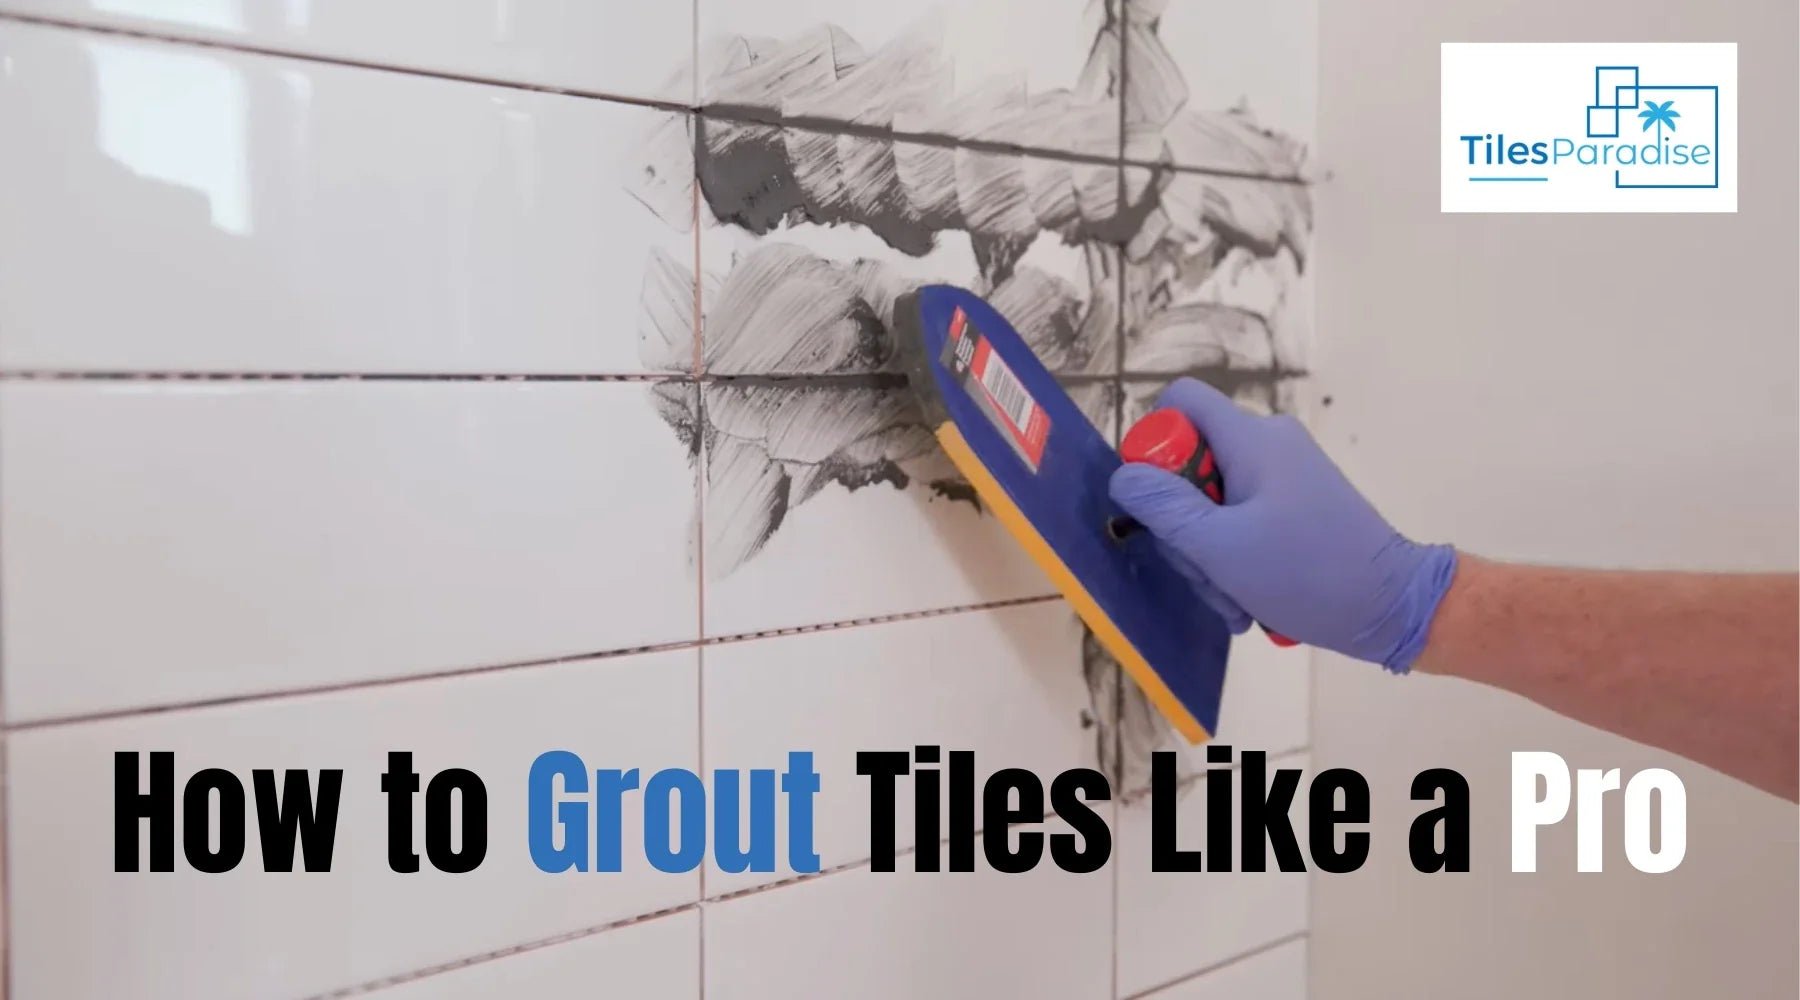
Apply the Grout
Load the grout float and hold it at a 45-degree angle to the tile surface. Spread the grout in sweeping diagonal motions, pressing firmly to ensure all joints are filled with no air pockets.
Remove Excess Grout
Once a section is filled, hold the float at a nearly 90-degree angle and scrape off the bulk of the excess grout from the tile faces using a diagonal motion.
Initial Cleaning
Wait 15–30 minutes for the grout to begin setting. Use a damp (not dripping) sponge to gently wipe the tiles diagonally to the joints. Rinse the sponge frequently in clean water.
Buff the Haze
After the tiles have dried for another 30–60 minutes, a white powdery haze will appear. Buff this off with a clean, dry microfibre cloth until the tiles are shiny.
Final Cure & Seal
Allow the grout to cure for at least 24 hours before exposing it to light moisture, and up to 3 days before using a shower. For cement-based grouts, apply a grout sealer once fully dry (usually after 48–72 hours) to prevent staining.
How Much Grout Do I Need: Cost Calculation
Calculating your grout needs involves a precise formula based on your tile dimensions and the area being covered. For a quick estimate, grout consumption generally ranges between 0.2–0.5 kg/m²
 Example Calculation
Tile Size: 200 × 200 mm (L × W)
Thickness: 4 mm (T)
Joint Width: 2 mm (S)
Density: 1.6 (D)
Step 1: Calculate Joint Volume Component
(L + W) × T × S
= (200 + 200) × 4 × 2
= 400 × 4 × 2
= 3,200
Step 2: Divide by Tile Area
L × W
= 200 × 200
= 40,000
3,200 ÷ 40,000 = 0.08
Step 3: Multiply by Density
0.08 × 1.6 = 0.128 kg per m²
Step 4: Apply 10% Waste Allowance
0.128 × 1.10 = 0.1408 kg per m²
Final Result:
You will need 0.14 kg of grout per m² (including 10% waste).
What are the Common Mistakes to Avoid While Tile Grouting?
To avoid ruining tile work during grouting, never apply grout before the adhesive has fully cured (wait 24–48 hours), and ensure you clean off excess grout with a damp sponge within 5–10 minutes to prevent a hazy, dried mess. Other key mistakes include-
-
Rushing the Curing Time: Applying grout before the tile adhesive has fully dried traps moisture, causing tiles to shift, dislodge, or fall off.
-
Improper Mixing Ratios: Using too much water results in weak, runny, and discoloured grout, while too little makes it powdery and difficult to work with.
-
Skipping the Slake Time: Grout needs to sit for about 10 minutes after mixing (slaking) to allow chemicals to activate; skipping this weakens the final product.
-
Poor Cleaning Techniques: Waiting too long to clean (allowing grout to dry on tiles) or using too much water on the sponge can remove grout from the joints or cause discolouration.
-
Not Sealing the Grout: Especially in wet areas, failing to apply sealer makes grout porous and prone to stains, mould, and cracking.
-
Using the Wrong Grout Type: Using sanded grout on delicate tiles can cause scratches, while using unsanded grout on large joints can cause cracking.
-
Ignoring Surface Prep: Leaving tile spacers in or having tile adhesive stuck in the gaps will result in uneven, patchy grout lines.
-
Walking on New Grout: Allowing foot traffic within 24 to 72 hours of grouting can lead to dislodged, uneven, and cracked joints.
-
Not Using Spacers: Skipping spacers leads to inconsistent gaps and a non-professional, crooked appearance.
-
Mixing with a Drill: This can trap air in the mixture, resulting in weak, bubbly, and discoloured grout; it is better to mix by hand.
Final Insight
Grouting is the critical final phase that transforms individual tiles into a unified structural system. Beyond aesthetics, a high-quality grout joint acts as a buffer against mechanical stress and serves as a moisture-resistant barrier to protect the substrate from long-term degradation. Selecting the correct material, such as cementitious, polymer-modified, or epoxy options, is essential for ensuring the installation’s durability and hygiene.
The difference between a DIY attempt and a professional finish lies in technical precision. Adhering to exact slaking times and maintaining a consistent water-to-powder ratio ensures maximum compressive strength and colour uniformity. By executing these steps with discipline, you secure the longevity of your investment and ensure a high-performance, maintenance-free surface.