


Bathroom tiles are one of the hardest-working surfaces in the home. Knowing how to clean bathroom tiles correctly makes the difference between a space that looks polished and one that looks permanently tired. With daily moisture, soap scum, and hard water deposits building up fast, the right technique matters as much as the right product.
Whether dealing with floor grime, wall soap residue, or blackened grout lines, the sections below cover every cleaning scenario - by tile type, surface area, and problem, step by step.
What Causes Bathroom Tiles to Get Dirty?
Bathroom tiles face a constant cycle of moisture, heat, and product residue. Steam from hot showers drives soap particles deep into grout lines, while hard water, especially common across much of England, deposits calcium and mineral scale on tile surfaces after every use.
Grout is particularly vulnerable because it is porous by nature. Left untreated, surface grime becomes embedded staining that resists basic wiping, making consistent cleaning far more effective than periodic intensive scrubbing.
What Cleaning Products Work Best on Bathroom Tiles?
Choosing the correct cleaner for the tile type is the single most important decision. Using the wrong product can etch, dull, or permanently discolour a tile surface.
|
Tile Type |
Recommended Cleaner |
What to Avoid |
|
Ceramic |
Mild detergent or diluted white vinegar |
Bleach, abrasive pads |
|
Porcelain |
pH-neutral cleaner or warm soapy water |
Acidic cleaners, steel wool |
|
Natural Stone (Marble, Onyx) |
pH-neutral stone cleaner only |
Vinegar, lemon, bleach |
|
Terrazzo |
Neutral pH cleaner, damp mop |
Acidic or alkaline products |
Bathroom ceramic tiles tolerate slightly stronger formulas, while marble effect bathroom tiles and onyx effect tiles require pH-neutral products at all times to preserve their finish.
Always test any new cleaning product on a small, hidden area before applying it to the full surface.
How to Clean Bathroom Wall Tiles Step by Step
Cleaning bathroom wall tiles correctly starts at the top and works downward so loosened grime does not fall onto already-cleaned sections. Remove toiletries and any accessories from the area before starting.
-
Wipe the surface with a dry microfibre cloth to remove dust and loose debris.
-
Spray a diluted mild detergent or a 1:3 mix of white vinegar and warm water across the tiles.
-
Leave the solution for 3 to 5 minutes to break down soap scum and water marks.
-
Scrub gently with a soft sponge or non-abrasive pad using small circular motions.
-
Rinse thoroughly with clean warm water.
-
Dry immediately with a clean microfibre cloth to prevent new water spots from forming.
For bathroom wall tiles with a high-gloss finish, a microfibre cloth on the final wipe guarantees a streak-free result. Avoid scouring pads on any glazed surface.
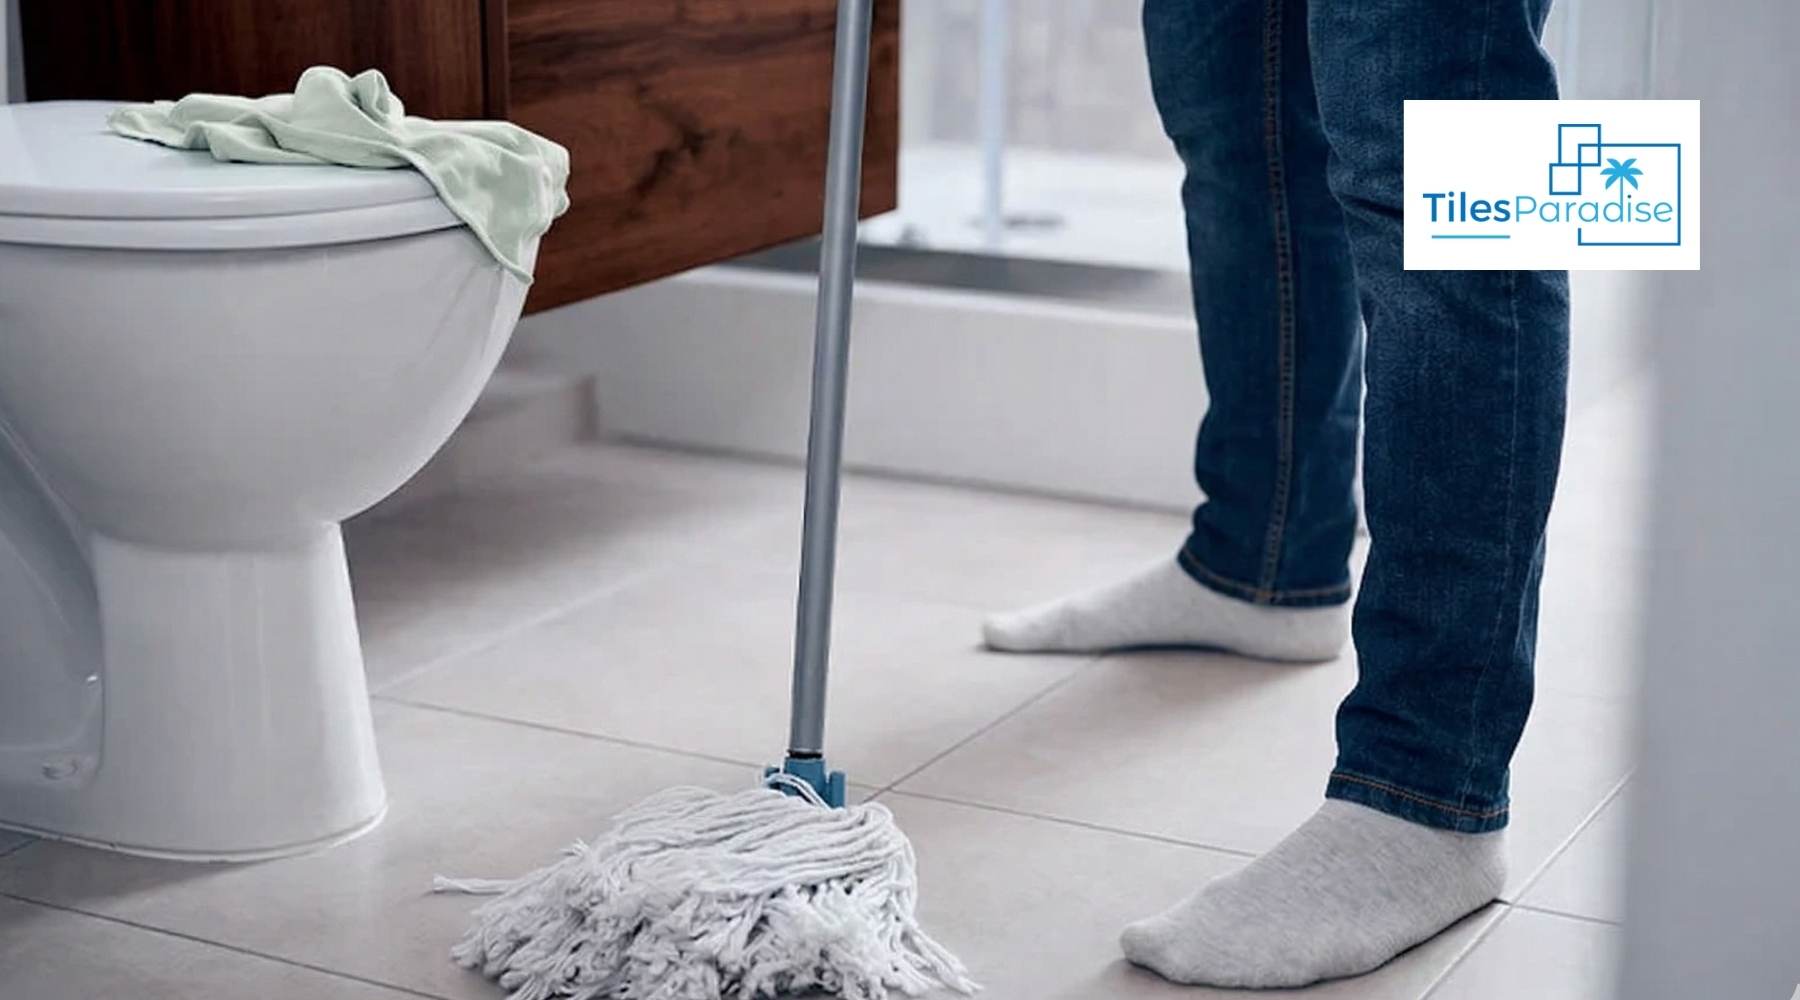
How to Clean Bathroom Floor Tiles Without Streaks
Floor tiles accumulate a different type of grime - tracked-in dirt, cleaning product residue, and standing water marks. The process differs slightly from wall tile cleaning.
Start by sweeping or vacuuming loose dust, hair, and debris before any wet cleaning. Apply a floor-safe tile cleaner or a diluted white vinegar solution and mop in overlapping sections. Rinse the mop head regularly to avoid spreading dirty water back across the surface - a common cause of streaky finishes.
Bathroom floor tiles with textured surfaces trap more grime than smooth ones, so a soft-bristle brush used along the texture lines helps lift embedded dirt. For anti-slip bathroom tiles, pay extra attention to the textured recesses where soap and product residue accumulate quickly. Dry the floor with a clean towel or allow thorough air drying to avoid slipping hazards.
How to Clean Bathroom Tile Grout Effectively
Grout is the most maintenance-intensive part of any tiled bathroom. Because it is porous, it absorbs soap scum, moisture, and airborne particles continuously. Cleaning bathroom tile grout regularly prevents surface staining from becoming deep discolouration.
For routine grout cleaning:
-
Mix bicarbonate of soda with just enough water to form a thick paste.
-
Apply directly to grout lines using an old toothbrush or a dedicated grout brush.
-
Leave for 10 minutes, then scrub gently using small back-and-forth strokes.
-
Rinse with clean water and dry with a cloth.
For stained or discoloured grout:
-
Apply a specialist bathroom grout cleaner and leave for the manufacturer's recommended contact time.
-
Scrub with a stiff-bristle grout brush for deeper penetration.
-
Rinse thoroughly and repeat if necessary.
Avoid using the same dirty water to rinse, as this pushes grime back into the lines. For small bathroom tiles with narrow grout joints, a slim detail brush reaches areas a standard toothbrush misses.

How to Remove Limescale from Bathroom Tiles
Limescale is a calcium carbonate deposit left behind when hard water evaporates from tile and grout surfaces. It appears as a chalky white or yellowish film, most commonly around taps, showerheads, and the base of wall tiles.
To remove limescale from ceramic or porcelain tiles, soak a cloth in undiluted white vinegar and press it firmly against the affected area for 5 to 10 minutes. The mild acidity dissolves mineral deposits without scratching the glaze. Scrub gently, then rinse thoroughly.
For bathroom large-format tiles, limescale is often more visible across wide, uninterrupted surfaces. Wiping down after every shower dramatically reduces build-up. Never use vinegar or acidic descalers on natural stone surfaces, including travertine, marble, or limestone - these materials etch and dull permanently when exposed to acid.
How to Remove Mould and Mildew from Grout and Tiles
Mould appears as black, green, or grey spotting along grout lines, tile corners, and silicone sealant edges. Before applying any treatment, remove the surface film of soap scum first, mould treatments cannot penetrate through this layer and will underperform if skipped.
For active surface mould, mix one part hydrogen peroxide with two parts water, spray generously, and leave for 10 to 15 minutes before scrubbing and rinsing. For established black mould that does not shift, re-grouting is the most reliable fix. Silicone sealant with mould worked deep into the bead is best replaced entirely rather than cleaned.
Terrazzo bathroom tiles and medium bathroom tiles with wider grout joints benefit from a grout sealer applied after deep cleaning to significantly reduce future mould risk.
How to Clean Porcelain and Ceramic Tiles Differently
Porcelain and ceramic are the most commonly tiled bathroom surfaces in the UK, but cleaning needs differ between the two.
Porcelain tiles have very low water absorption due to their dense, vitrified construction. A damp mop with a pH-neutral cleaner is sufficient for routine maintenance. For heavier soiling, a 1:4 dilution of white vinegar in warm water works effectively. Bathroom porcelain tiles resist staining well, but still benefit from being dried after wet cleaning to prevent mineral deposits from tap water.
Ceramic tiles have a slightly more porous body beneath the glaze, making the glaze itself the primary protective barrier. Gentle cleaners preserve this glaze over time. A mild washing-up liquid solution applied with a soft sponge keeps ceramic surfaces looking fresh without degrading the finish over the years of use.
Both tile types tolerate a diluted bicarbonate of soda paste for stubborn marks without risk of surface damage.
How to Keep Bathroom Tiles Clean Between Deep Cleans
The most effective strategy for keeping bathroom tiles clean is reducing the work that accumulates between full cleaning sessions. Small, consistent habits protect the surface and grout far more effectively than occasional intensive scrubbing.
-
After every shower: Use a squeegee or soft cloth to wipe wall tiles and remove standing water before it evaporates and leaves mineral deposits.
-
Weekly wipe-down: A light spray of diluted white vinegar or bathroom cleaner followed by a microfibre wipe takes under five minutes and prevents soap scum from hardening.
-
Ventilate consistently: Run the extractor fan during and for at least 15 minutes after every shower. Open a window where possible. Humidity is the primary driver of mould growth in bathroom grout.
-
Seal grout annually: Apply a grout and tile sealer every 6 to 12 months to create a moisture-resistant barrier. This significantly reduces staining, limescale absorption, and mould frequency.
-
Avoid leaving wet items on tiles: Shampoo bottles, soap bars, and damp flannels resting against tiles leave ring stains and accelerate product residue build-up.
Common Tile Cleaning Mistakes to Avoid
Even well-intentioned cleaning can cause lasting damage if the wrong method is applied to the wrong surface. These are the most common errors found across UK bathrooms.
-
Using vinegar on natural stone — Acidic cleaners etch marble, limestone, and travertine permanently. Always use a pH-neutral product on stone surfaces.
-
Skipping the dry step — Leaving tiles wet after cleaning encourages new water spots and mineral deposits to form almost immediately.
-
Using abrasive scourers on glazed tiles — Metal and rough pads scratch glaze surfaces, leaving micro-scratches that trap more dirt over time.
-
Ignoring grout sealing — Unsealed grout absorbs every cleaning product, stain, and moisture source it encounters.
-
Cleaning with dirty water — Refreshing the mop bucket or rinse water regularly prevents grime from being redeposited across the floor.
-
Mixing bleach and vinegar — Never combine these two products. Together, they produce chlorine gas. Always rinse one completely before using the other.
How Much to Tile A Bathroom
Understanding the full cost of a bathroom tiling project helps with planning and budgeting accurately. The how much to tile a bathroom guide covers material costs, labour rates, and factors that affect the overall price across different bathroom sizes and tile types.
How to Tile a Bathroom: Step-by-Step Guide
For anyone planning a new installation or refurbishment, the how to tile bathroom walls and floors guide walks through every stage of the process, from surface preparation and adhesive selection through to grouting and finishing.
Final Thoughts
Keeping bathroom tiles clean is far less about effort than it is about consistency and method. Matching the cleaning product to the tile type, maintaining good bathroom ventilation, and addressing grout and limescale before they become ingrained are the three habits that make the biggest long-term difference. A well-maintained tiled bathroom retains its appearance for years without the need for aggressive chemicals or expensive restoration.
For anyone planning a new bathroom or refreshing an existing one, tile selection plays a direct role in how easy maintenance will be. Large-format tiles with minimal grout joints, polished porcelain surfaces, and dark grout colours all reduce the visible impact of everyday dirt and make keeping bathroom tiles clean a much simpler task over the long term.